
Your first hour in Meisa: the setup checklist
Connect your email provider, verify your domain, add a sender, add contacts and send your first email. The dashboard's Get ready to send card tracks all five.
On this page
Your first hour has five steps: connect your email provider, verify your domain, add a sender address, add contacts, and send your first email. The Get ready to send card on your dashboard tracks them in that order and always shows the next one.
How the checklist works
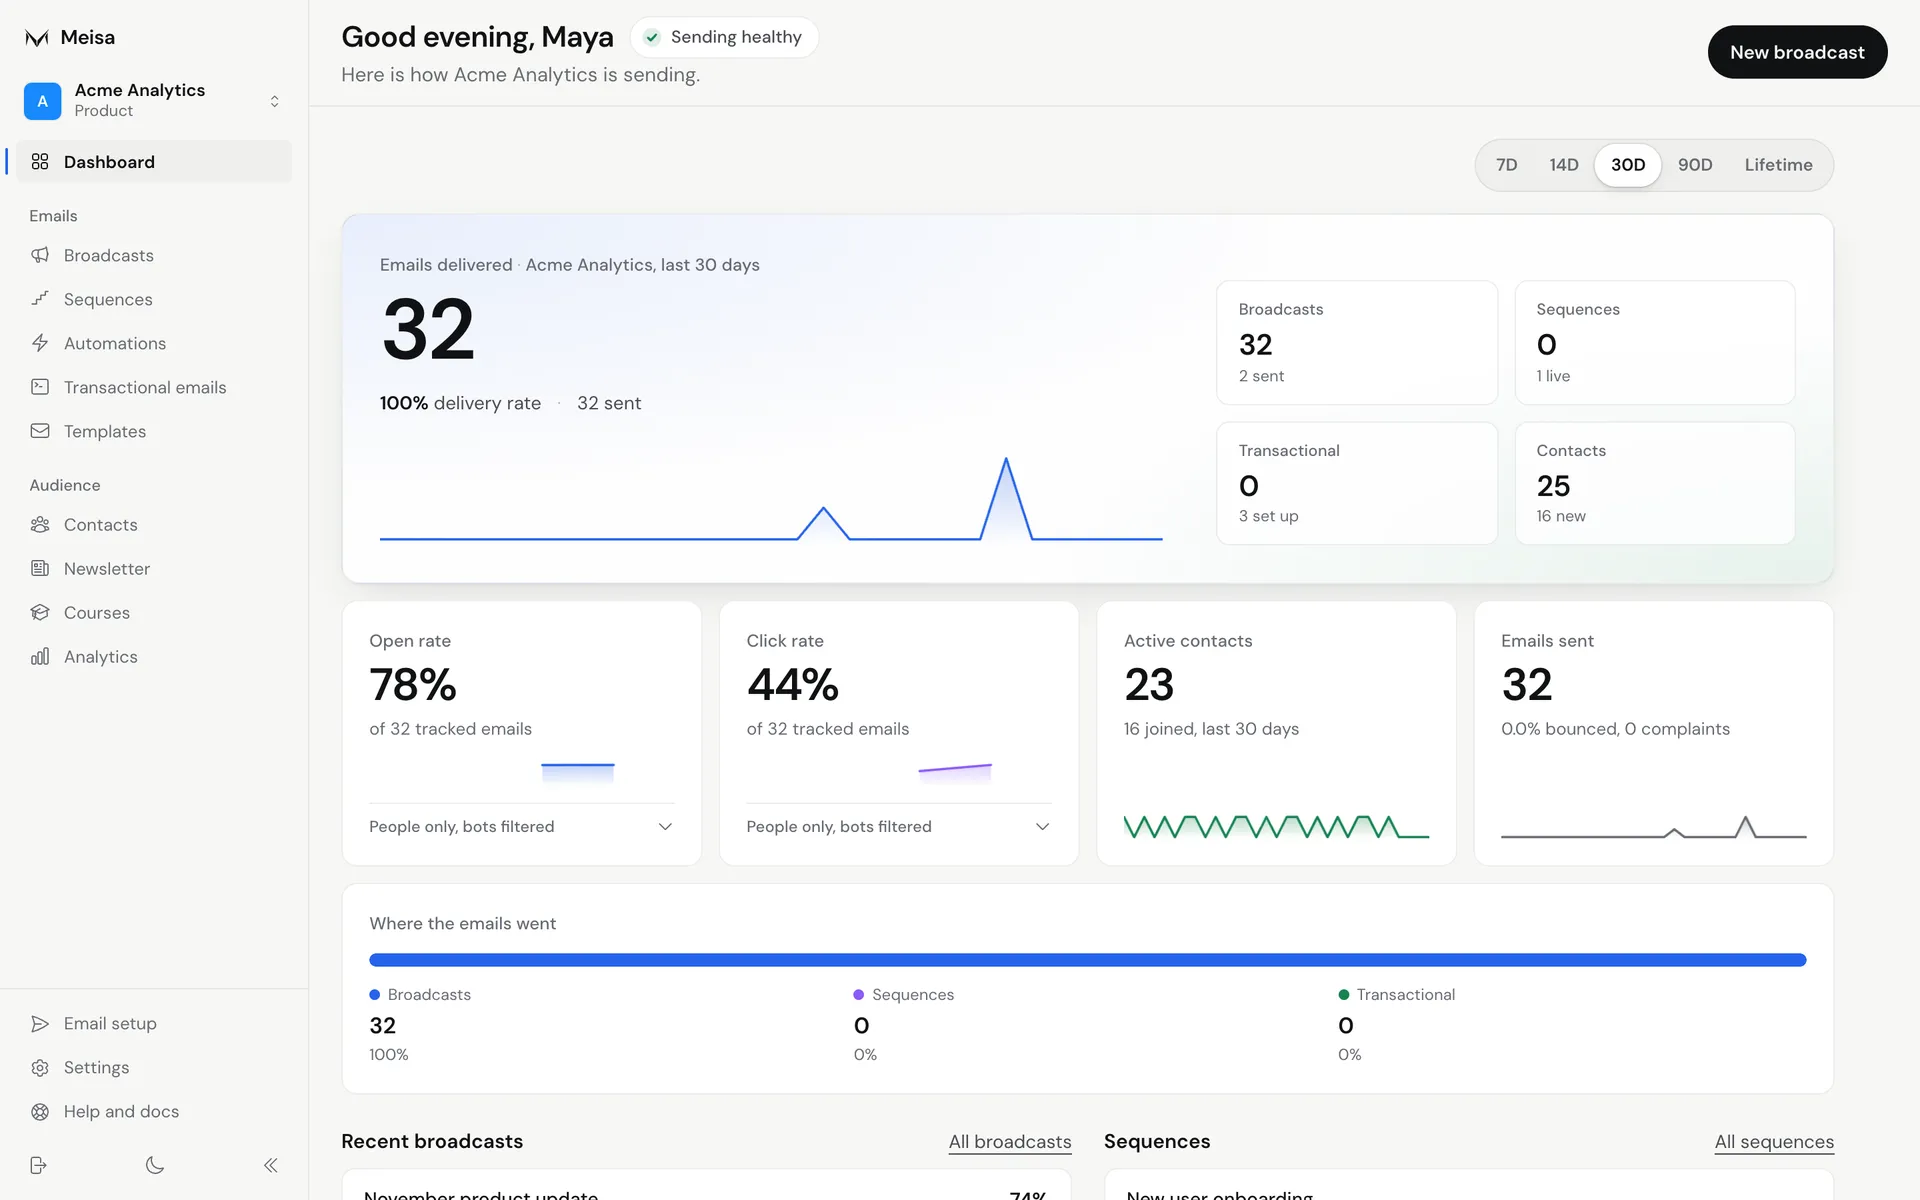
- Open Dashboard in the sidebar. The Get ready to send card shows how many steps are done (for example, 2 of 5) and a Next step box.
- Click the blue button in the Next step box to go straight to that step.
- Already did a step another way? Click I have already done this.
- The sidebar also shows Setup with your progress until all five are done. Click it to jump back to the checklist.
- Each product has its own checklist, because each product has its own sending setup.
Step 1: Connect your email provider
Plug in Amazon SES or the provider you already use. You pay them for sending, at cost.
- If you use Amazon SES, first create an IAM user and access keys. See Create an AWS IAM user and access keys for Meisa.
- In Meisa, go to Email setup and add your provider. See Connect Amazon SES to Meisa.
- New SES accounts start in the sandbox. Request production access early, because AWS can take up to a day to reply. See Move AWS SES out of the sandbox.
If the step shows Keys not working, check your provider details and save them again.
Step 2: Verify your domain
This proves the address you send from is yours, so mail reaches the inbox.
- Add your domain in Email setup.
- Copy the DNS records Meisa shows into your DNS host. See Add Meisa’s DNS records at Cloudflare, GoDaddy, Namecheap or Route 53.
- Wait for the domain to show as verified. See My domain is still pending verification.
Step 3: Add a sender address
The sender is the name and address people see on your emails, like “Sam at Northwind”. See Add a sender (From name and address).
Step 4: Add contacts
Import a list or add people one by one. See Import contacts from a CSV file or Add a contact. Only import people who agreed to hear from you.
Step 5: Send your first email
Any email sent counts, including a broadcast to yourself. A good first send:
- Send a test to yourself. See Send a test email to yourself or your team.
- Then send your first broadcast. See Send your first broadcast.
After the checklist
- Set up your onboarding emails: Create an onboarding email sequence.
- Connect your app: API quickstart: your first API call.
- Bring your team in: Invite team members.
Troubleshooting
- A step shows “Could not check”. Meisa could not confirm that step right now. You can still go ahead.
- My trial limit stopped a send. During the 7-day trial there are daily and total sending limits. See Manage your plan, card and invoices to start your plan early.
- Stuck? Email [email protected] or use the chat on this help center.
Related articles
Did this answer your question?
Thanks for letting us know.Thanks, we will improve this article. Want a hand right now?
Still need help?
Chat with us and get an answer in a few minutes.