
Create an email course
Go to Courses, click New course, write your lessons, pick a sender, put the signup form on your site, and turn the course on.
On this page
An email course is a free course people sign up for: they confirm their address and then get one lesson a day. When they buy, the course stops on its own. To make one, go to Courses, click New course, write the lessons, pick a sender, add the signup form to your site and turn it on.
Create the course
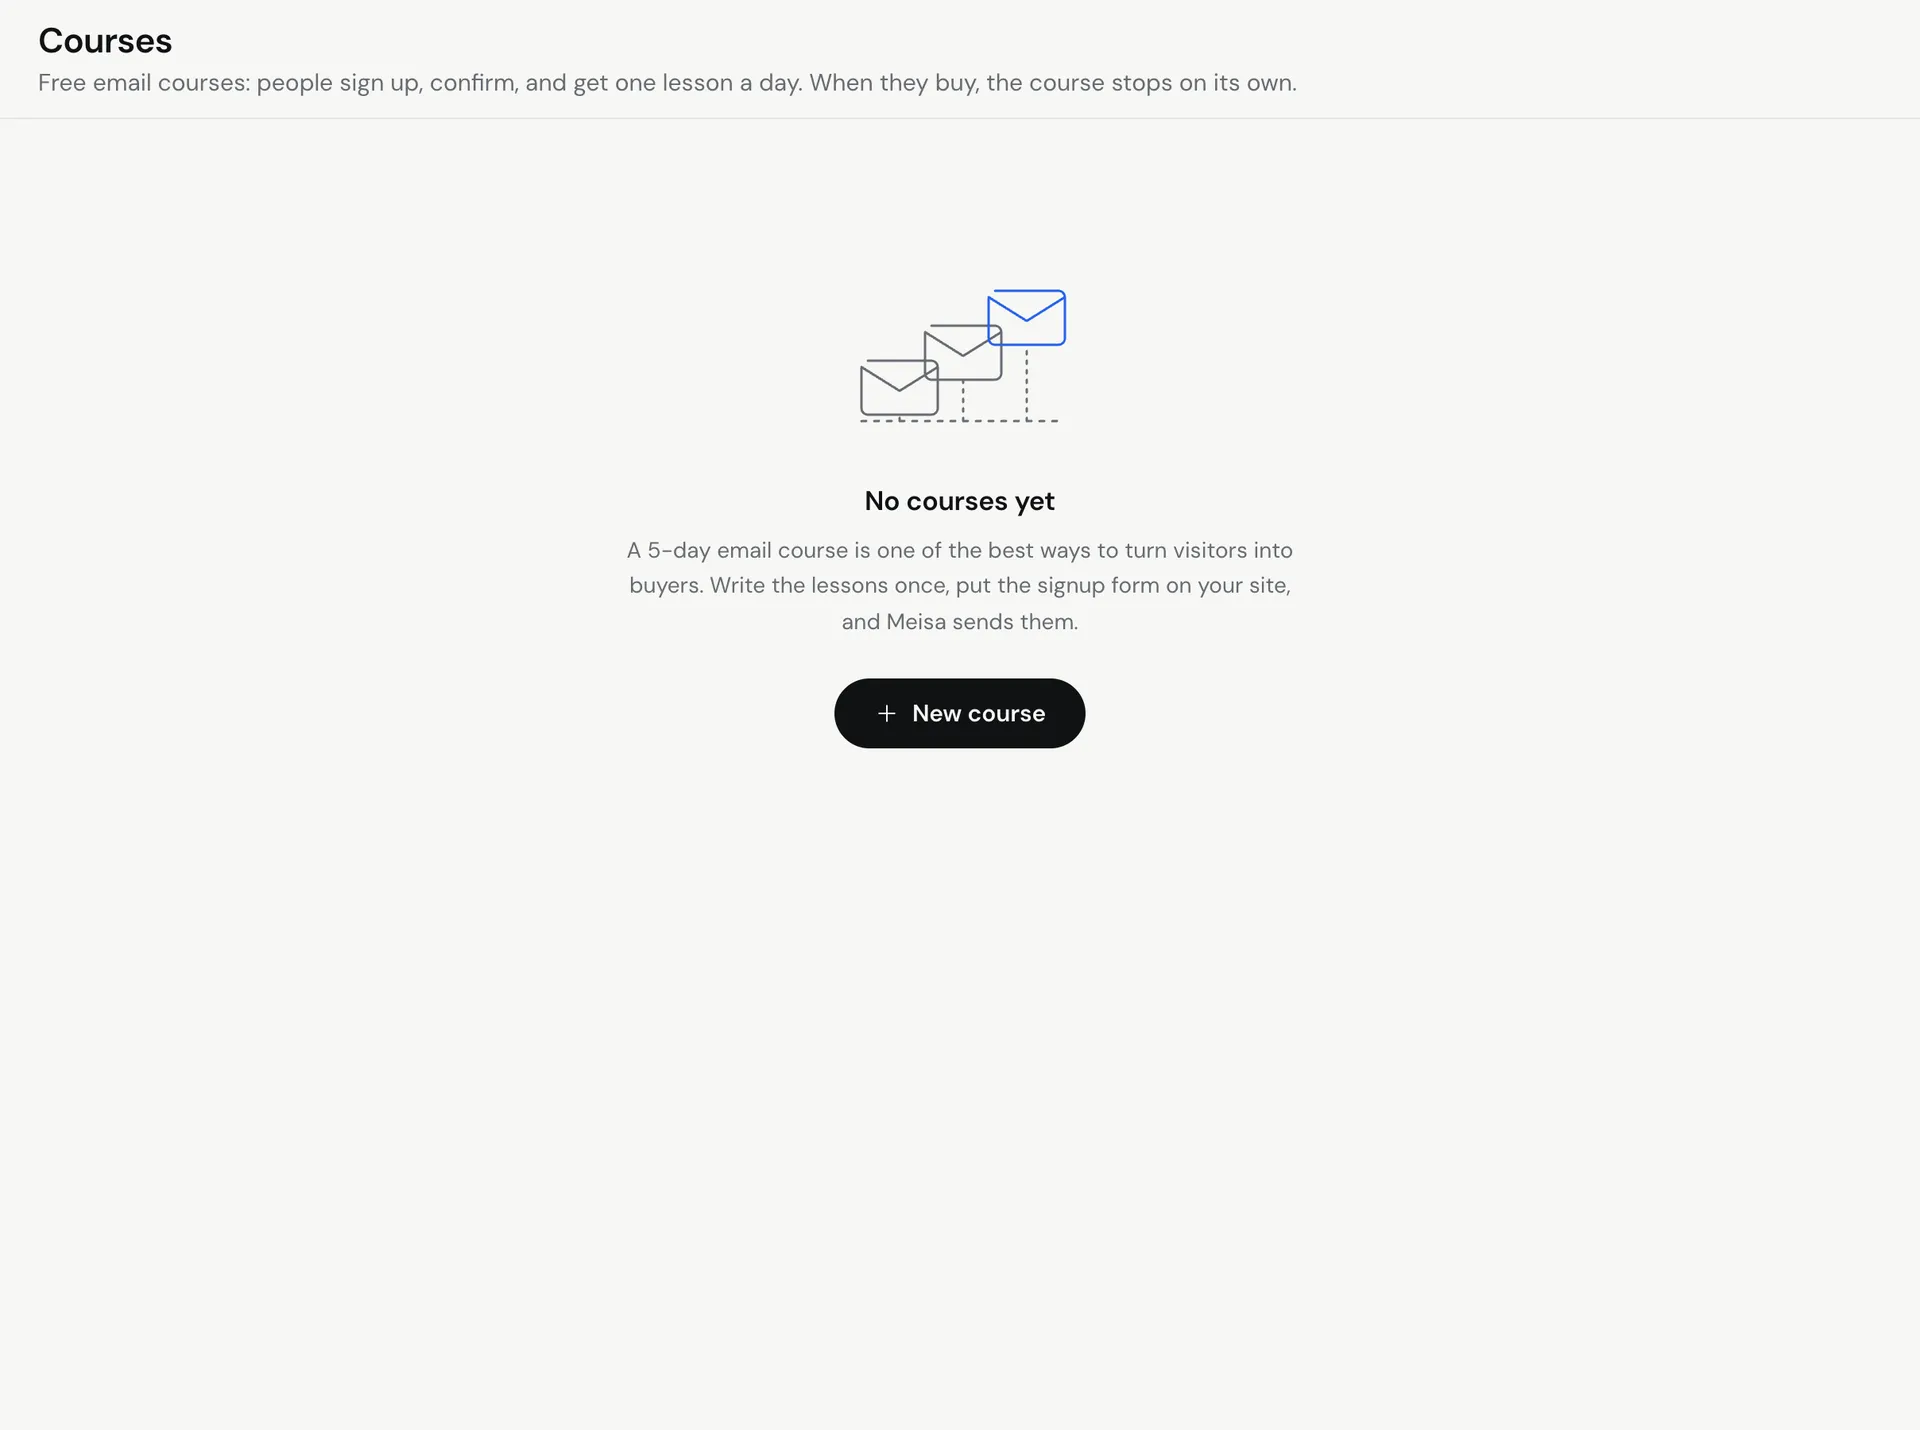
- In the sidebar, click Courses.
- Click New course.
- In New email course, fill in:
- Name, for example “5 days to better cold emails”.
- What readers get (shown on the signup page): one or two lines on what they will learn.
- How many lessons: 3, 5 or 7. You can add or remove lessons later.
- Click Create course.
The course opens with a short checklist: Write your lessons, Pick who it comes from and Put the signup form on your site.
Write your lessons
- Open the Lessons tab.
- Click Write on a lesson to open it in the template editor. Write the subject and the content, then save.
- Use Add lesson to add more, the arrows to change the order, or remove a lesson you don’t need.
Once people are partway through the course, the lesson order is locked so nobody gets a lesson twice or skips one.
Pick the sender and the sending time
- Open the Settings tab.
- Under Sending, choose the From sender.
- Set the Lesson time. Lesson 1 goes out as soon as the reader confirms. The rest go out one a day at this hour, in each reader’s own time zone.
Other settings:
- Name and description: what readers see on the signup page.
- Look and confirmation: the accent colour of the signup page, and After confirming, go to (optional), a page on your site to send people to after they confirm.
- Delete course, at the bottom.
Add the signup form
Open the Signup form tab. You have three choices:
- Hosted signup page, ready to share: click Copy link and share it anywhere, for example in a post or your newsletter.
- HTML form: copy the snippet and paste it into your website. The button reads Start the free course.
- From your backend: sign people up from your app with the API, for example when they tick a box at signup.
curl -X POST "https://api.meisa.io/api/v1/courses/your-course-slug/subscribe/" \
  -H "X-API-Key: meisa_live_your_key" \
  -H "Content-Type: application/json" \
  -d '{ "email": "[email protected]", "first_name": "Maya", "timezone": "Europe/London" }'
The exact URL with your course slug is shown in the tab. The API key needs the Add people to sequences or Add and update contacts permission.
Turn it on
Click Turn on. Signups are not accepted until the course is on. To stop sending for a while, click Pause.
Stop the course when someone buys
The point of most courses is to turn readers into customers, and nobody wants lesson 4 after they paid. When someone buys, have your app tell Meisa:
curl -X POST "https://api.meisa.io/api/v1/courses/end/" \
  -H "X-API-Key: meisa_live_your_key" \
  -H "Content-Type: application/json" \
  -d '{ "email": "[email protected]", "reason": "purchased" }'
reason can be purchased, unsubscribed or other. Readers who bought are counted under Bought.
Track how it’s doing
The Readers tab shows the funnel: Signed up, Confirmed (clicked the confirmation link), Mid-course, Finished and Bought. Filter the list by Mid-course, Finished, Bought or Not confirmed.
Troubleshooting
- The signup form says the course isn’t available: turn the course on first.
- A reader never got lesson 1: they have not confirmed yet. Check the Not confirmed filter. The confirmation email can land in spam.
- Lessons arrive at the wrong hour: lessons follow the reader’s time zone. Pass
timezonewhen you sign people up from your backend.
Related articles
Did this answer your question?
Thanks for letting us know.Thanks, we will improve this article. Want a hand right now?
Still need help?
Chat with us and get an answer in a few minutes.