
Add delays, conditions and branches to a sequence
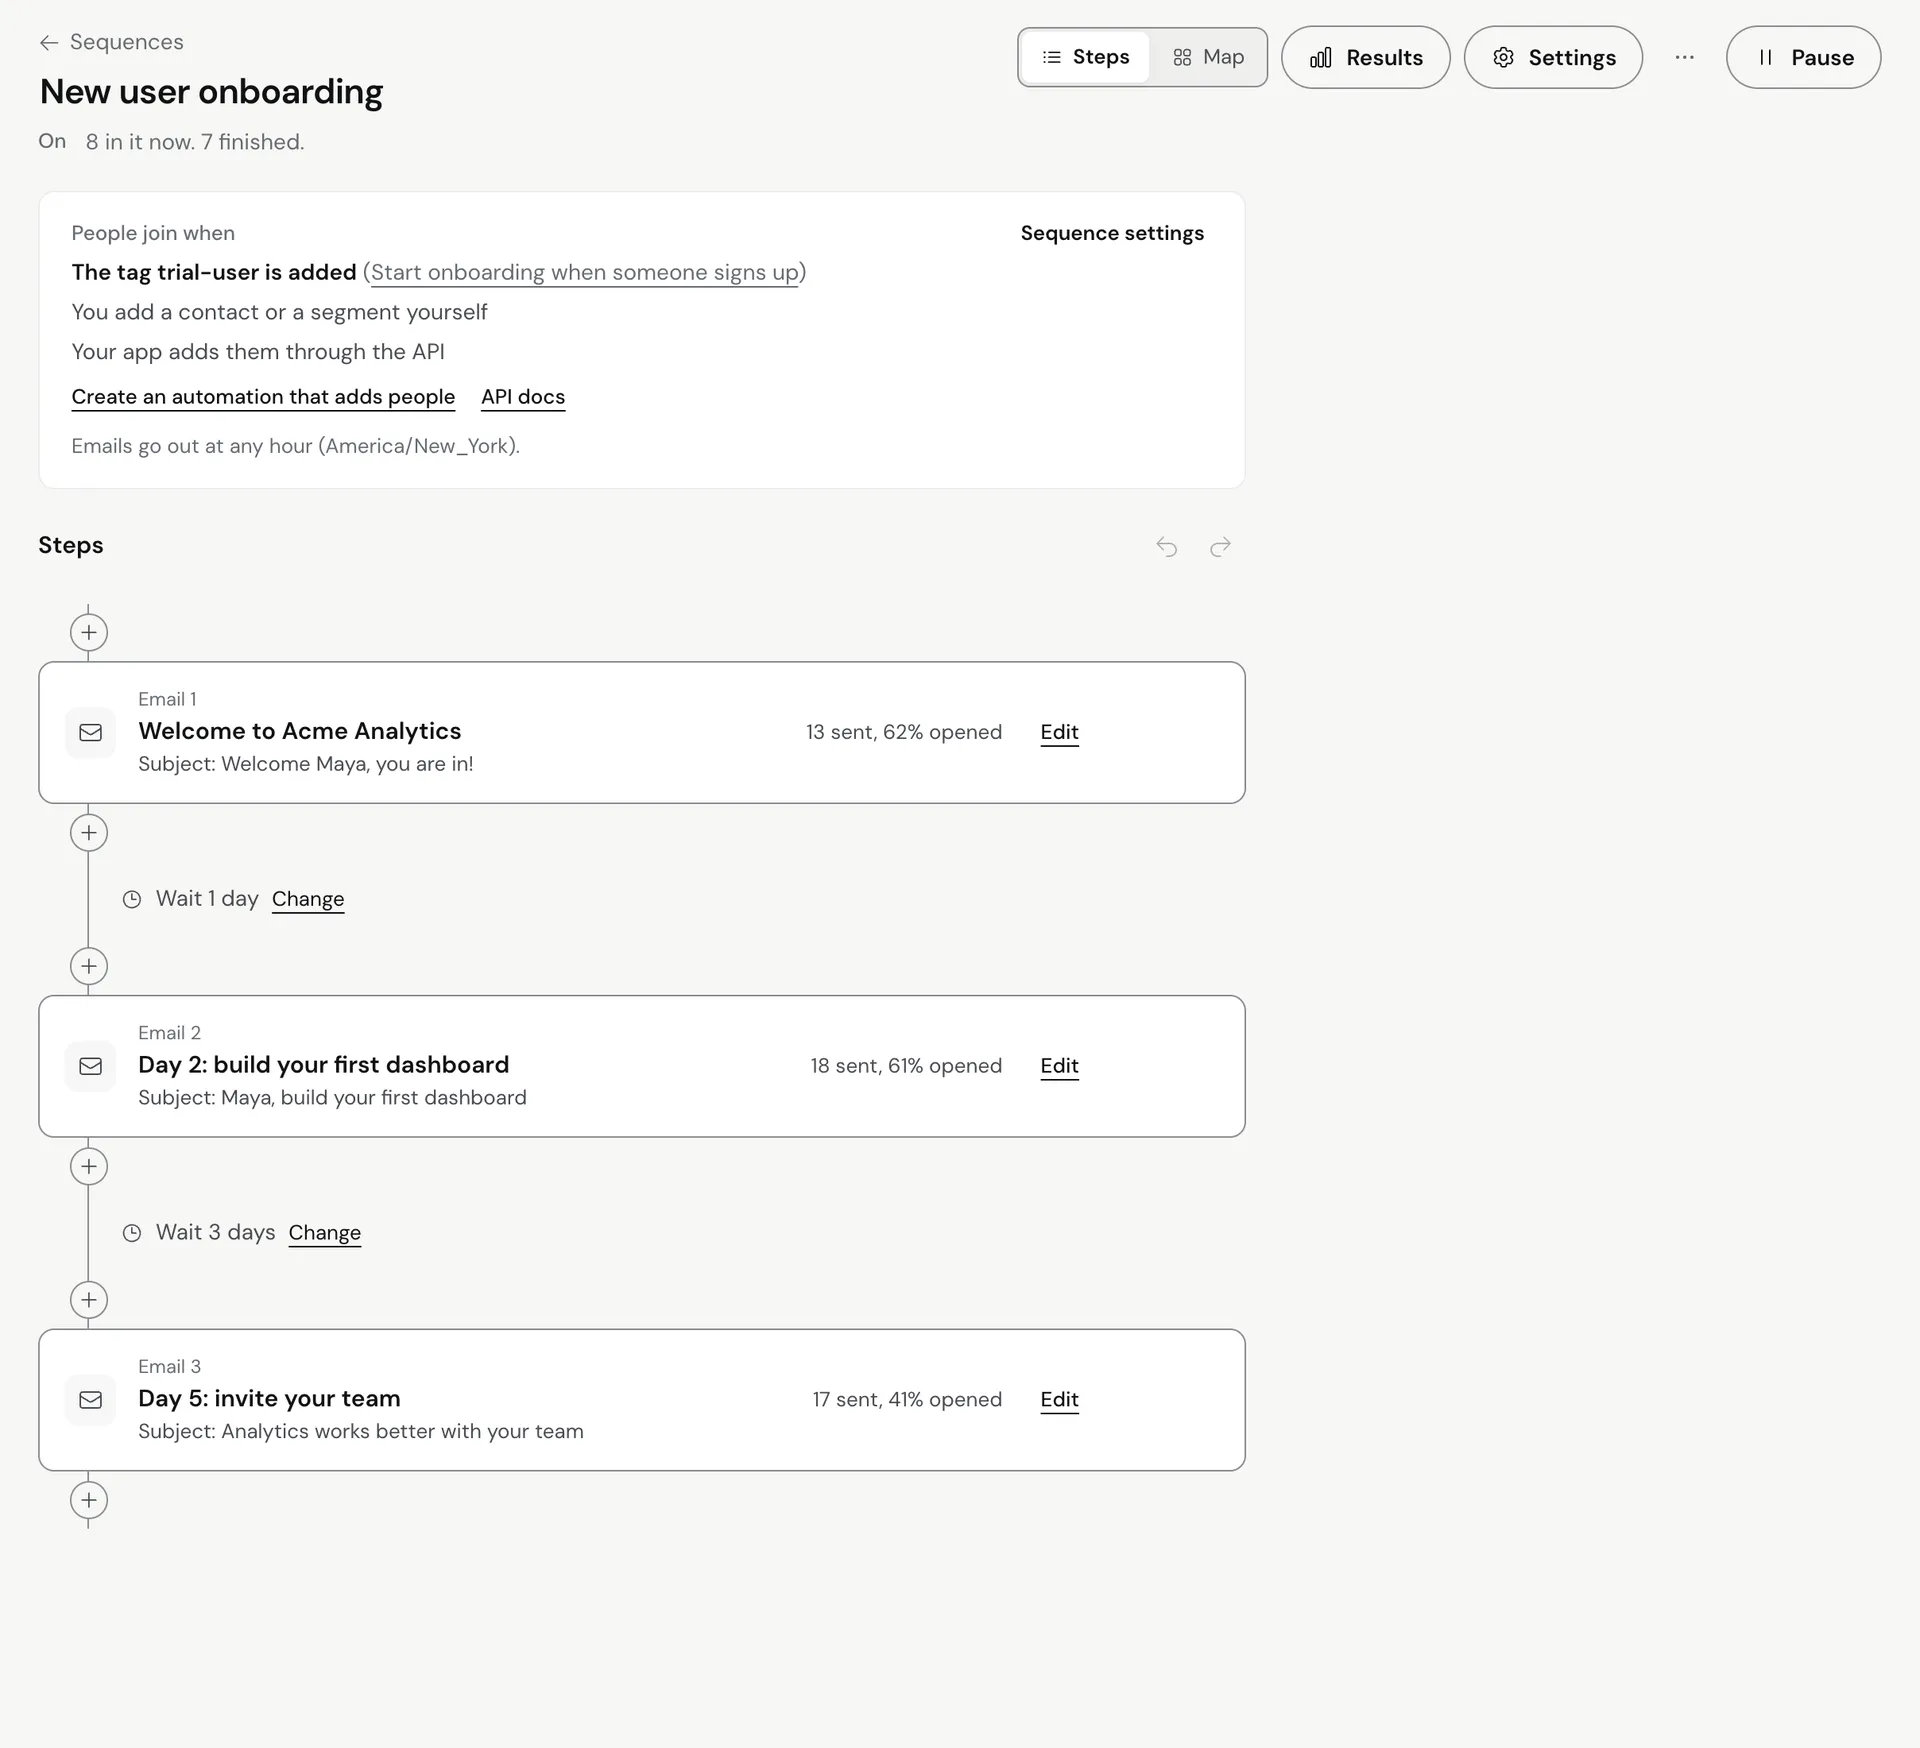
Add a Wait step to space emails out, and a Check a condition step to send people down a Yes or No path based on opens, clicks, tags or fields.
On this page
Use a Wait step to space emails out, and a Check a condition step to send people down a Yes or No path based on what they did or what you know about them. Action steps let you tag people, set a field or call your app along the way.
Add a wait
- Open the sequence from Sequences.
- Click the plus where you want the pause and choose Wait.
- Enter a number in Wait for and pick the Unit: Minutes, Hours, Days or Weeks.
The next step runs after the wait. If the sequence has Sending hours set in Settings, an email that comes due outside those hours waits for the window to open.
Add a condition (branch)
- Click the plus where you want the branch and choose Check a condition.
- Under Check whether the person, pick one of:
- Opened an email in this sequence: Yes means they opened at least one email from this sequence so far.
- Clicked a link in this sequence: Yes means they clicked a link in at least one email from this sequence so far.
- Has a tag: enter the Tag, for example
customer. - A contact field has a value: enter the Field (for example
plan), pick how to compare under Is (equals, does not equal, contains, or is set), and enter the Value.
- Under Where people go, set If yes and If no. Each one either continues with the next step or jumps to a later step you pick.
- Add at least one step after the check. Without one, people would wait there.
Example: after the welcome email and a 2-day wait, check A contact field has a value with onboarding_completed equals true. If yes, jump to the “what’s next” email. If no, continue with a “need a hand with setup?” email.
Good to know
- Open and click checks need tracking. If open or click tracking is off for the sequence, the check always answers No. Turn tracking on in Sequence settings.
- Apple Mail and some security scanners can trigger opens automatically, so branch on clicks or on your own data (tags and fields) when the decision matters.
- A check uses one rule. If an older step shows more than one, Meisa only uses the first and offers to remove the rest.
- Options marked (not supported yet) are not used by Meisa. Pick a supported check instead.
Add an action
- Click the plus and choose Action.
- Under What should happen, pick one:
- Add a tag or Remove a tag
- Set a contact field: enter the Field and the New value
- Call a web address: Meisa sends the person’s email and name as JSON to the URL you enter
- Add to another sequence or Remove from another sequence
Actions are handy for marking progress, for example add the tag onboarded at the end of an onboarding sequence so an automation or segment can pick it up.
Publish your changes
If the sequence is already on, click Publish changes in the bar at the bottom for your edits to take effect. People already in the sequence continue from where they are.
Troubleshooting
- Everyone goes down the No path on an open check: tracking may be off for this sequence, or the person has not opened yet at the moment of the check. Add a longer wait before the check.
- A field check never matches: the field name must match the key your app sends in
custom_fieldsexactly, and the value must match too (for exampletrueversusTrue). - People are stuck after a check: add a step after the check so both paths have somewhere to go.
Related articles
Did this answer your question?
Thanks for letting us know.Thanks, we will improve this article. Want a hand right now?
Still need help?
Chat with us and get an answer in a few minutes.