
Publish a newsletter with a public signup page
Set up a newsletter for your product with its own sender, signup page and unsubscribe, then write issues like broadcasts.
On this page
Meisa can run a newsletter for your product that stays separate from your product emails: it has its own sender address, its own signup page and its own unsubscribe. Go to Newsletter, click Set up your newsletter, then write issues with Write an issue.
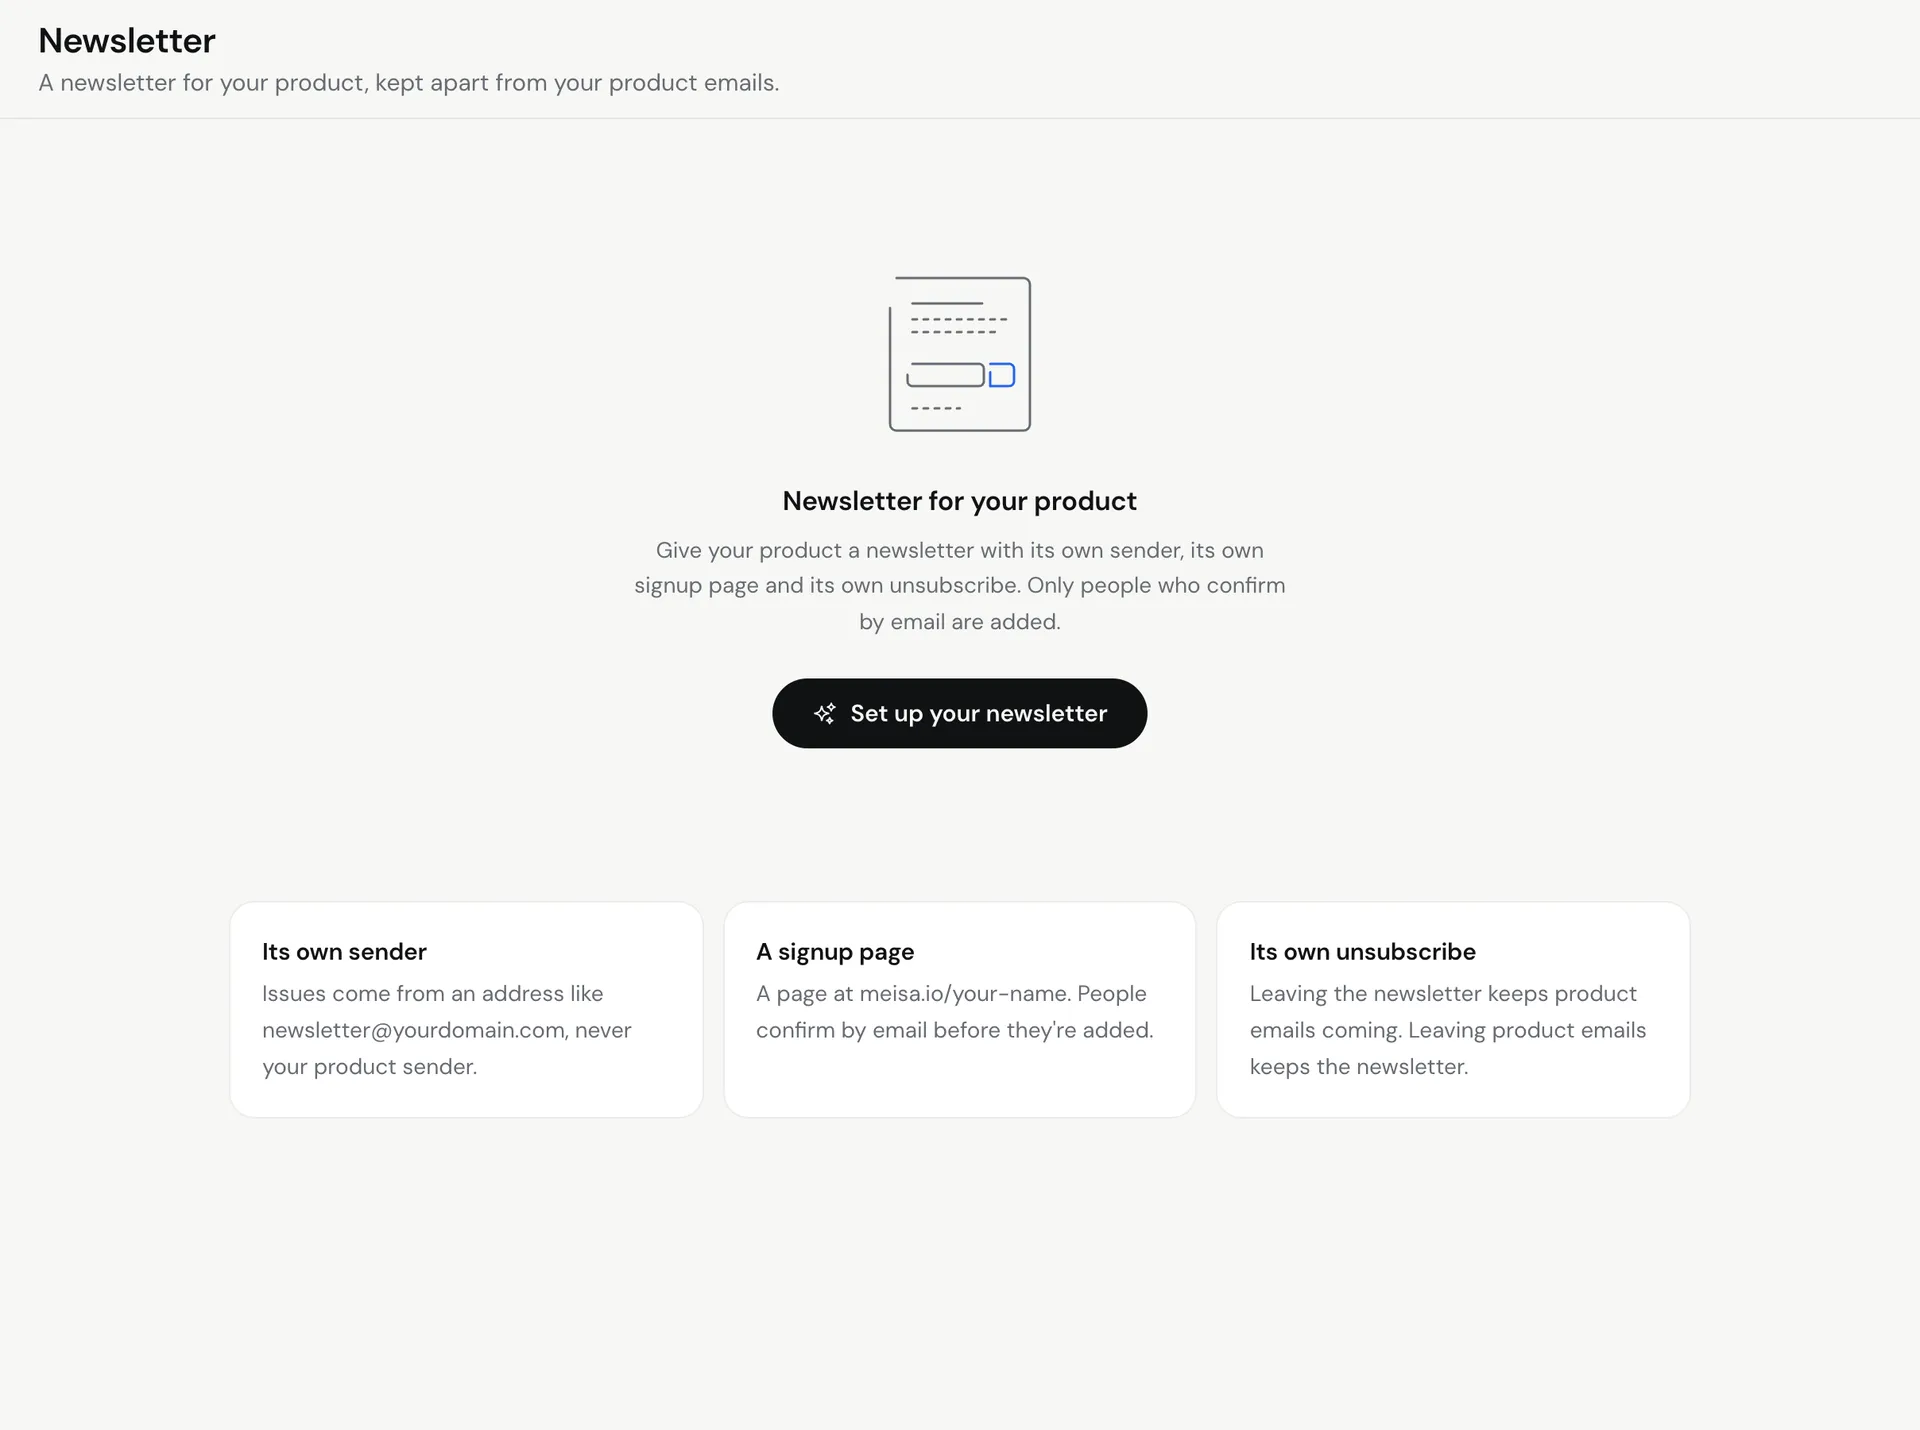
Set up your newsletter
- Go to Newsletter and click Set up your newsletter.
- Name and address: enter the Newsletter name and the Address of your signup page (meisa.io/your-name). Use at least 3 characters: lowercase letters, numbers and dashes. Changing it later breaks links you already shared.
- Who it comes from: pick or add a separate sender, like [email protected]. Your product sender can’t be used, so the newsletter stays apart from your product emails in every inbox. The sender’s domain must be verified. See Add a sender.
- Your signup page: choose a Page style (Letter, Spotlight or Minimal), a colour, and fill in One line on what readers get. Optionally add What’s inside (up to 3, optional), How often (optional), for example “Every Tuesday”, and Written by (optional). Check the phone preview on the right.
- Click Create newsletter.
Get subscribers
- Share your signup page: click Open signup page or Copy page link and share it anywhere. People confirm by email before they are added, so your list only has real, willing readers.
- Add existing contacts: click Add existing contacts to bring in contacts who can already get your marketing email. Unsubscribed, bounced and people who said no to newsletters are left out. Review the count and click Add contacts.
See everyone on the Subscribers tab. Search, filter by status (for example “Signed up, haven’t clicked the email yet”) or remove someone with Remove from newsletter.
Write and send an issue
- Click Write an issue. A new broadcast opens with the newsletter’s sender, the Newsletter email type and your subscribers as the audience already set.
- Write it like any broadcast, send a test, then send or schedule it. See Send your first broadcast.
The Issues tab shows Issues sent, Average open rate, Average click rate and Unsubscribes from issues, with one row per issue.
Control the signup page
On the Signup page tab:
- Page is on / off: when off, the page shows not found and nobody can sign up.
- Past issues on the web: when on, every sent issue gets its own page and shows under Recent issues. Hide a single issue from the Issues tab.
- Change the style, text and colour, then click Save page.
Use your own domain
On the Domain tab you can serve the page from a subdomain such as news.yourbrand.com.
- Enter Your subdomain and click Connect domain.
- Add the record shown (Type, Name, Points to) where your domain’s DNS lives, such as Cloudflare, GoDaddy or Namecheap.
- Wait while it shows Waiting for DNS. It usually goes live within a few minutes, and Meisa sets up HTTPS for you. You then see “Your domain is live.”
To go back to the meisa.io address, click Remove domain.
How unsubscribes work
Newsletter and product emails are separate. Leaving the newsletter keeps product emails coming, and leaving product emails keeps the newsletter. Readers can sign up again on your page any time.
Troubleshooting
- “Pick a page address that is free.” Someone already uses that address. Try another.
- The sender option is greyed out: it sends your product emails, so it can’t send the newsletter. Add a new address just for the newsletter.
- A subscriber shows as waiting: they signed up but have not clicked the confirmation email yet.
- The domain stays on Waiting for DNS: check the record matches exactly and give DNS time to update.
Related articles
Did this answer your question?
Thanks for letting us know.Thanks, we will improve this article. Want a hand right now?
Still need help?
Chat with us and get an answer in a few minutes.